Every pour.
A little more intention.
Record your V60 dose, grind, bloom, pour schedule, and drawdown to build a recipe you can repeat.
Pour a cup. Settle in.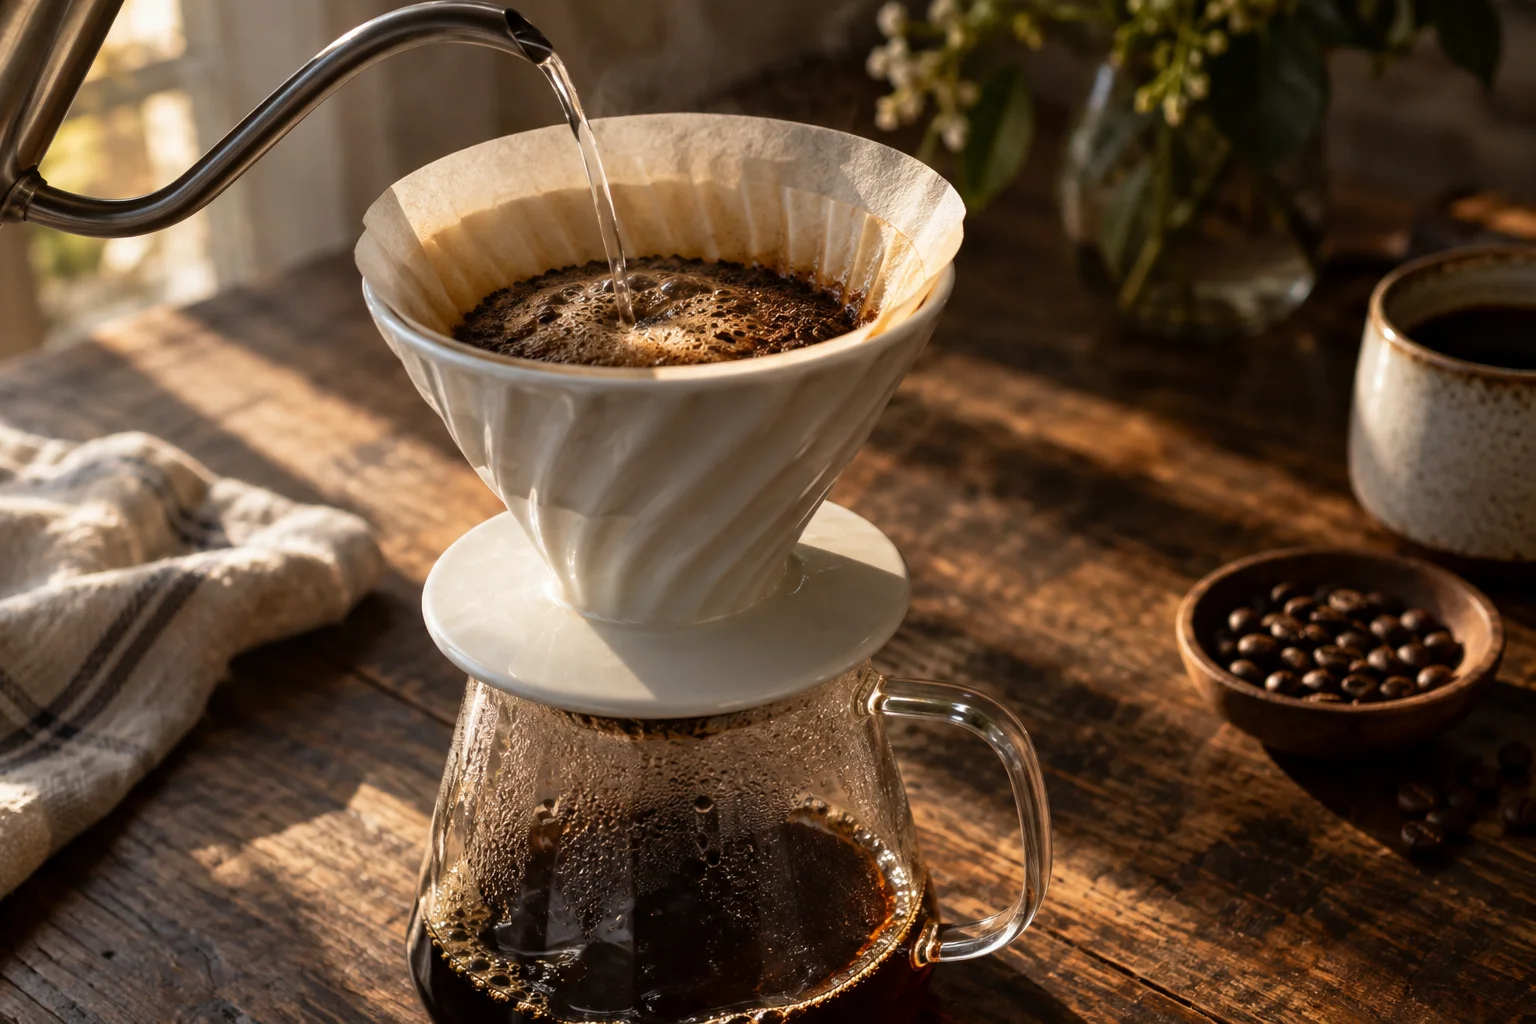
Write the recipe before lifting the kettle
A V60 gives you a great deal of control, which is precisely why it helps to keep a record. Dose, grind, water, pouring speed, and agitation all influence the brew. Start by naming the dripper size and material, filter, grinder, and coffee. A recipe called simply “V60” leaves several useful details unstated.
For a first journal entry, use a recipe you already trust. Write coffee dose and total brewing water in grams, then temperature and grind setting. If you need a starting framework, 15 g coffee and 250 g water describes a roughly 1:16.7 ratio; it is an example to adapt, not a universal setting for every coffee.
Keep your water source consistent while comparing nearby adjustments. A new filter or larger batch can change flow even when the grinder stays in the same position. Mark those changes so you do not blame the coffee for a different setup.
Separate pour amounts from scale totals
A pouring log can use individual additions or cumulative targets. Both work, but label them. “Pour to 150 g” means the scale should read 150 g total. “Add 150 g” means pour that amount on top of what is already there. Confusing the two can ruin an otherwise clear recipe.
Record when each pour starts and, if useful, when it ends. The same water delivered over ten seconds or thirty seconds does not describe the same action. A short note such as “slow circles, low kettle, no extra swirl” captures technique better than a time stamp alone.
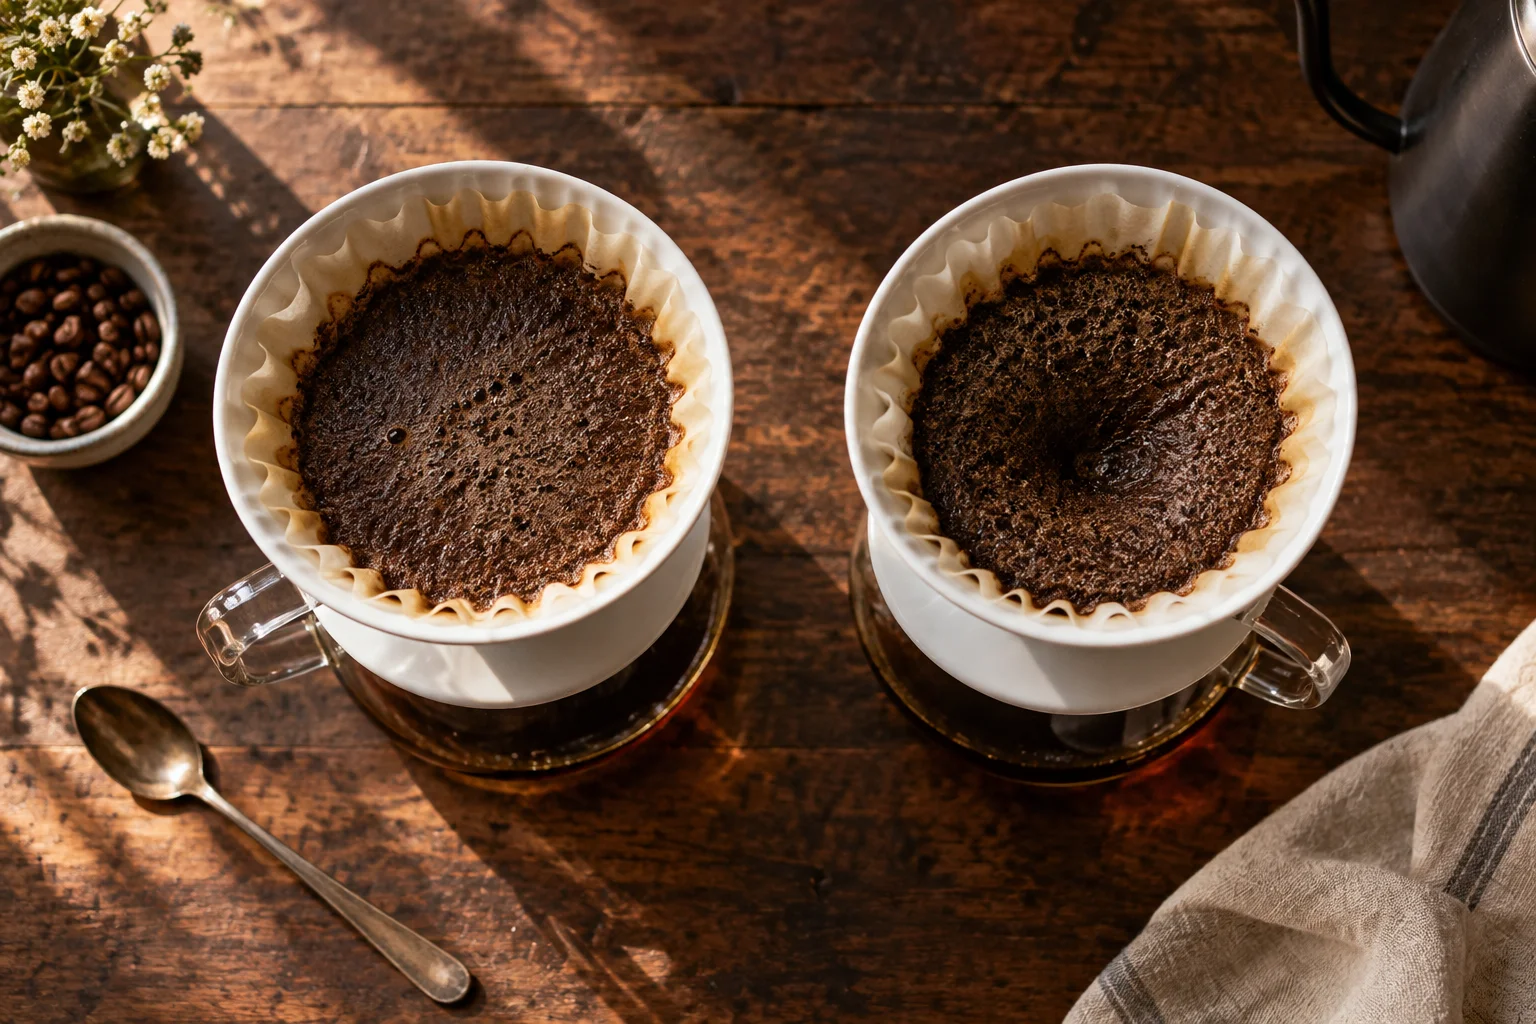
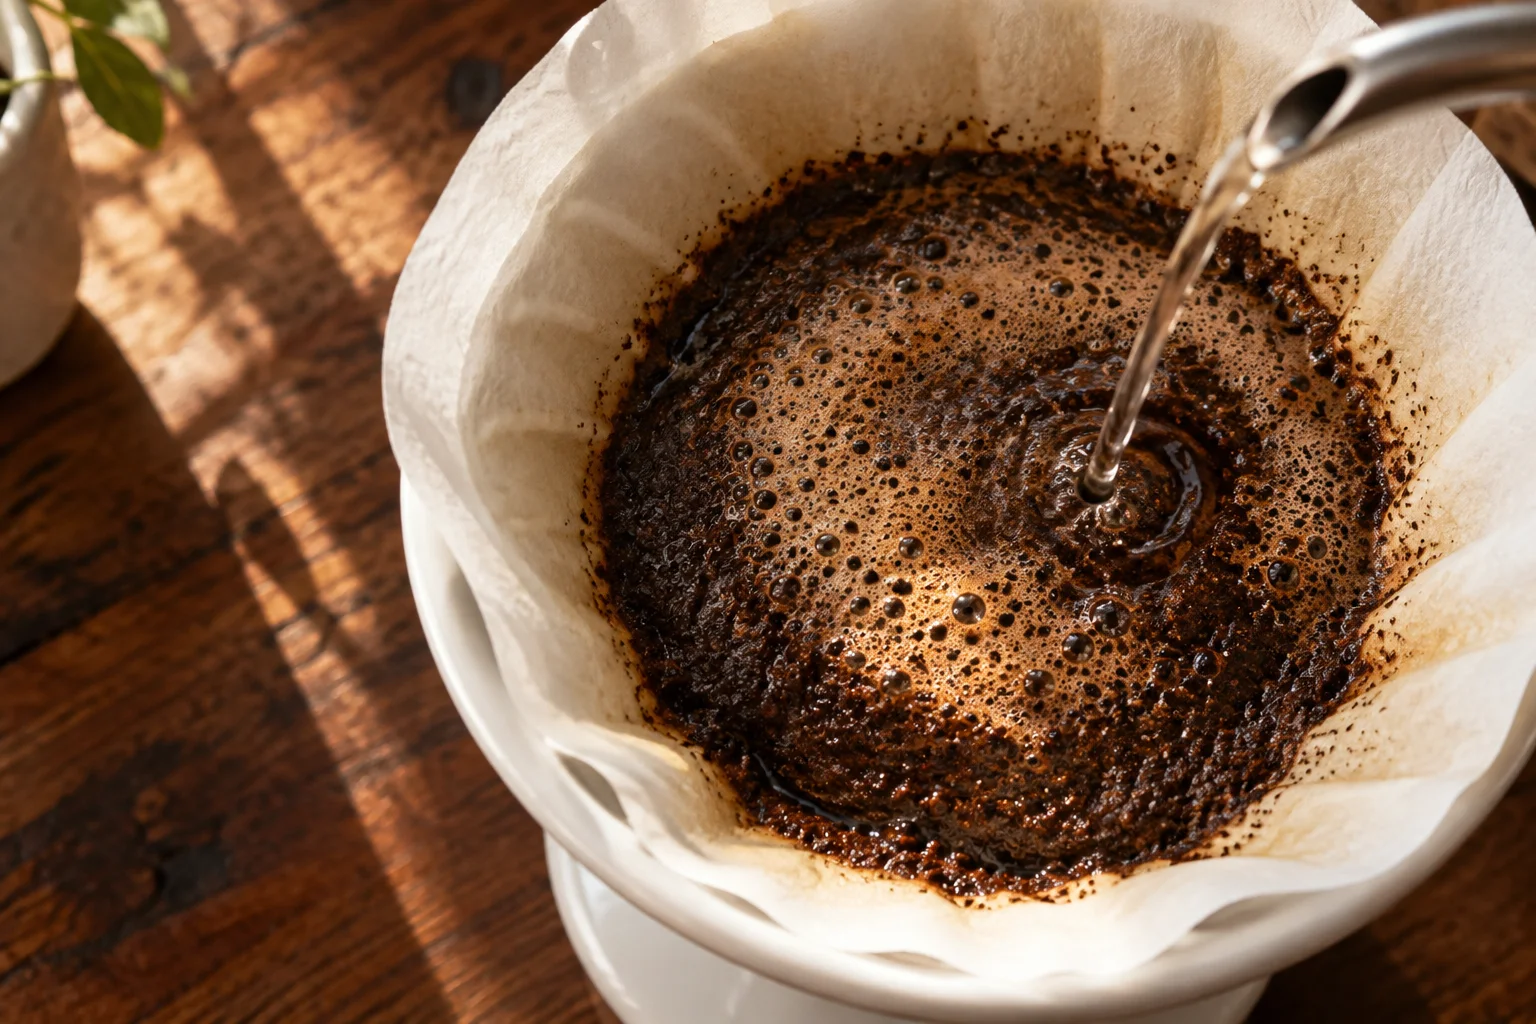
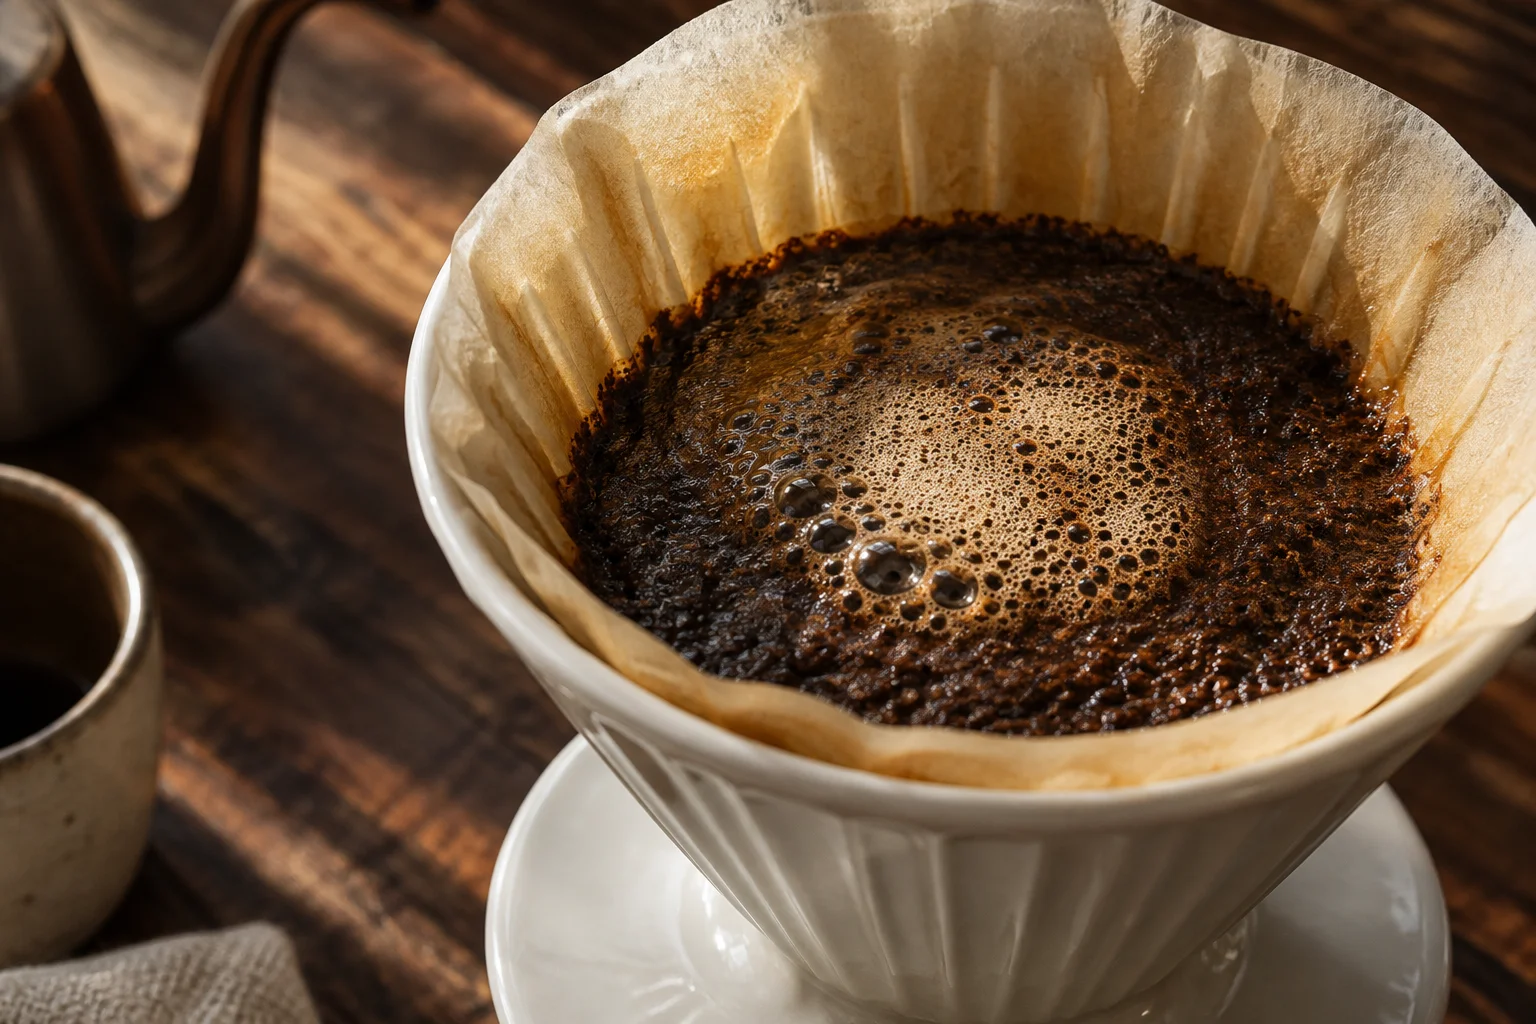
Treat the bloom as its own stage. Record its water amount, waiting time, and whether you stirred or swirled. You are documenting wetting and degassing behavior, not trying to maximize the visual size of the bloom.
| Record | Why it helps |
|---|---|
| Coffee and equipment | Identifies the ingredient, filter, dripper, and grinder |
| Bloom amount and duration | Describes the first wetting stage |
| Cumulative pour targets | Makes the schedule easy to follow on a scale |
| Agitation | Records swirls, stirs, or vigorous pouring |
| Final drawdown | Captures how the bed drained after the last addition |
Follow the ritual.
Keep the details.
Bring structure to your coffee routine with BrewTrax method selection, recipe setup, brewing timers, and recorded steps.
Explore Guided Coffee Brewing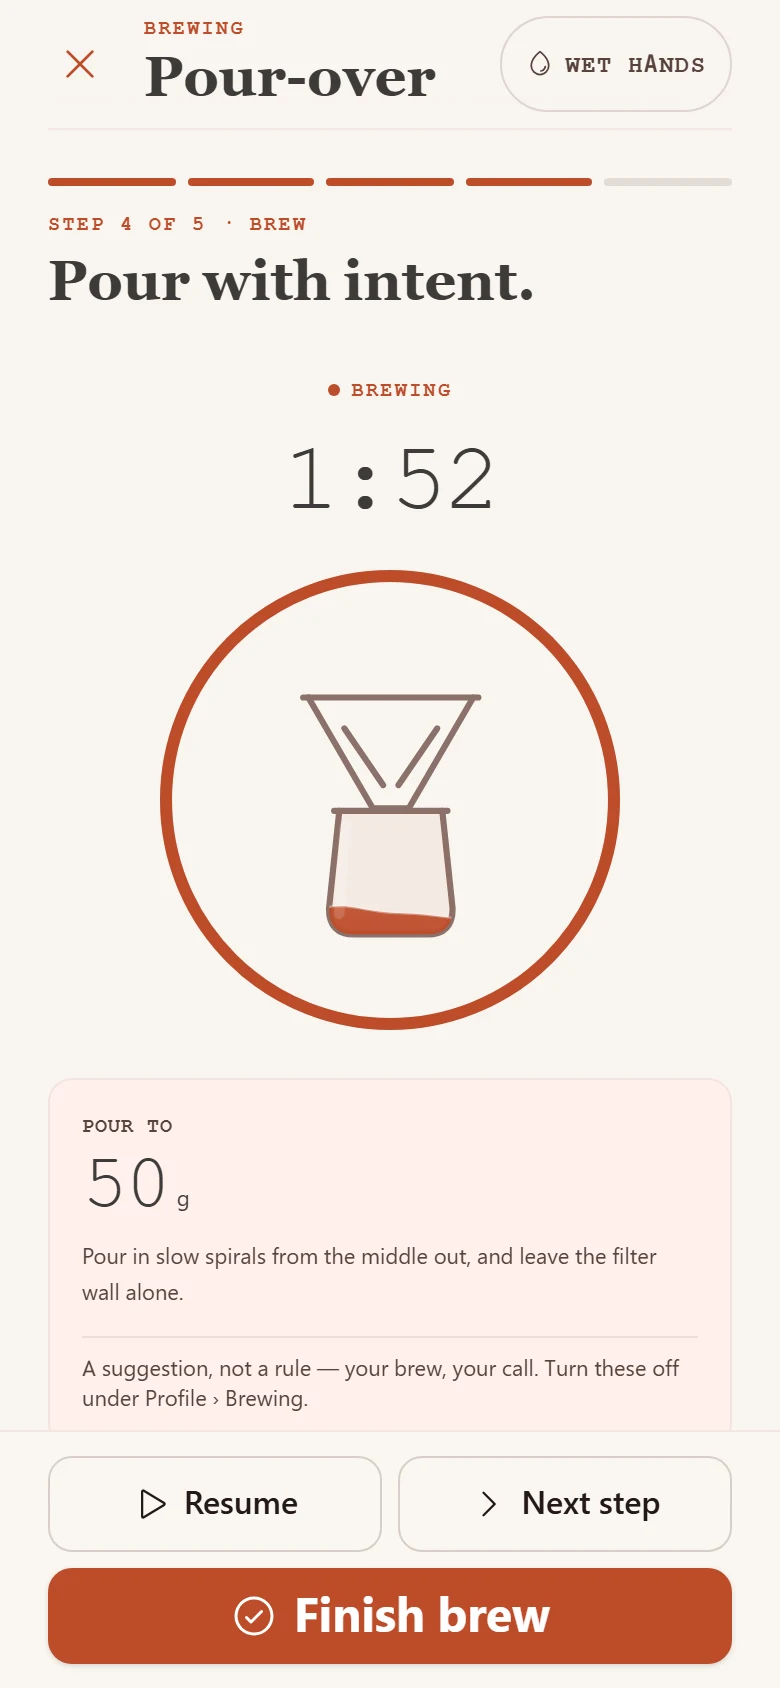
REMEMBER THE CUP.
Define what “finished” means
Some brewers stop timing when the water surface disappears; others wait until dripping becomes very slow. Choose a consistent endpoint and name it. A reported three-minute brew means little if yesterday’s timer stopped at a different event.
Drawdown is an observation, not a score. A slower cup may be delicious, and a quick cup may be balanced. Taste before deciding whether to change the grind. If flow becomes unusually slow, consider filter seating, fines, and agitation as well as particle size.
Write down anything unexpected: a stalled bed after a swirl, a kettle overshoot, or a dry patch during bloom. These details help separate recipe design from execution. You do not need to narrate every second; preserve what would affect your interpretation.
Keep the cup beside the numbers
Taste while warm and again as the coffee cools. Note sweetness, texture, clarity, and finish in your own language. If you change the grind next time, keep the pour schedule and total water steady so the comparison has a clear purpose.
BrewTrax’s guided brewing and step records give individual pours a place in the same entry as your tasting notes. Use the saved brew as tomorrow’s starting point, then record the actual outcome. If the cup is already enjoyable, repeat it before making another adjustment.
When sharing the recipe, include the grinder’s identity and the water totals. Someone else can adapt an honestly described recipe; they cannot reproduce a photograph of a beautiful coffee bed.