Four pours.
One clear starting point.
Try a simple four-pour V60 practice recipe, with cumulative water targets and an honest method for adjusting it by taste.
Pour a cup. Settle in.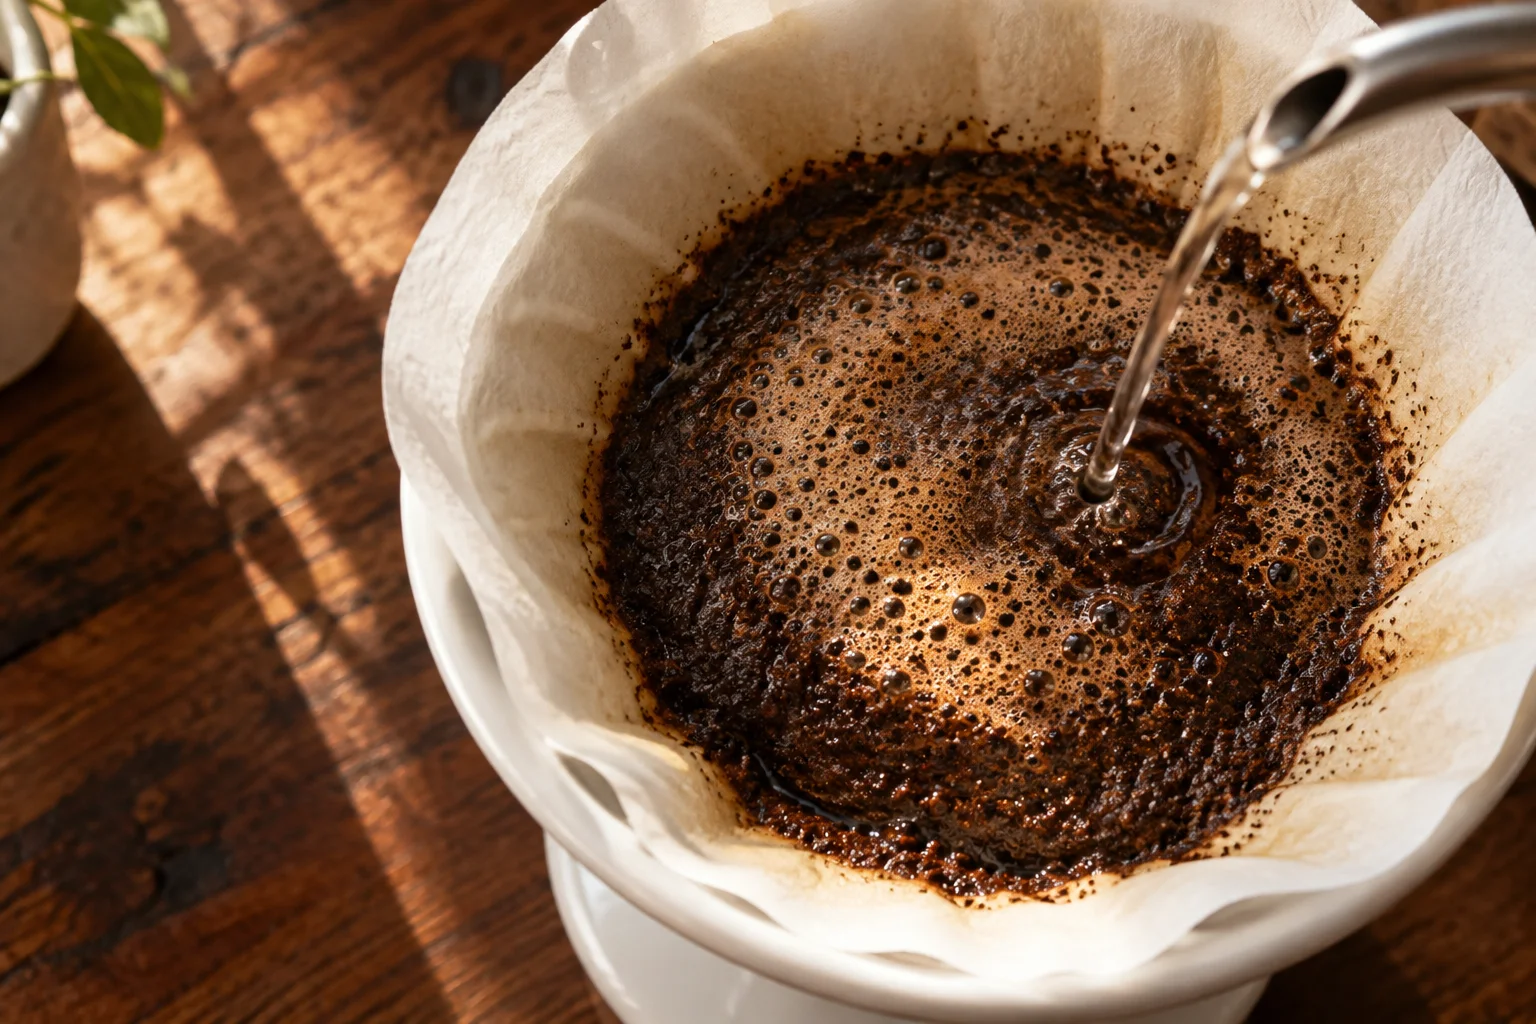
A practice recipe, not a universal formula
This is a BrewTrax practice recipe for learning how to record a pour schedule. It uses four additions including the bloom. It is not Tetsu Kasuya’s 4:6 method, whose name refers to a water split rather than a four-pour count.
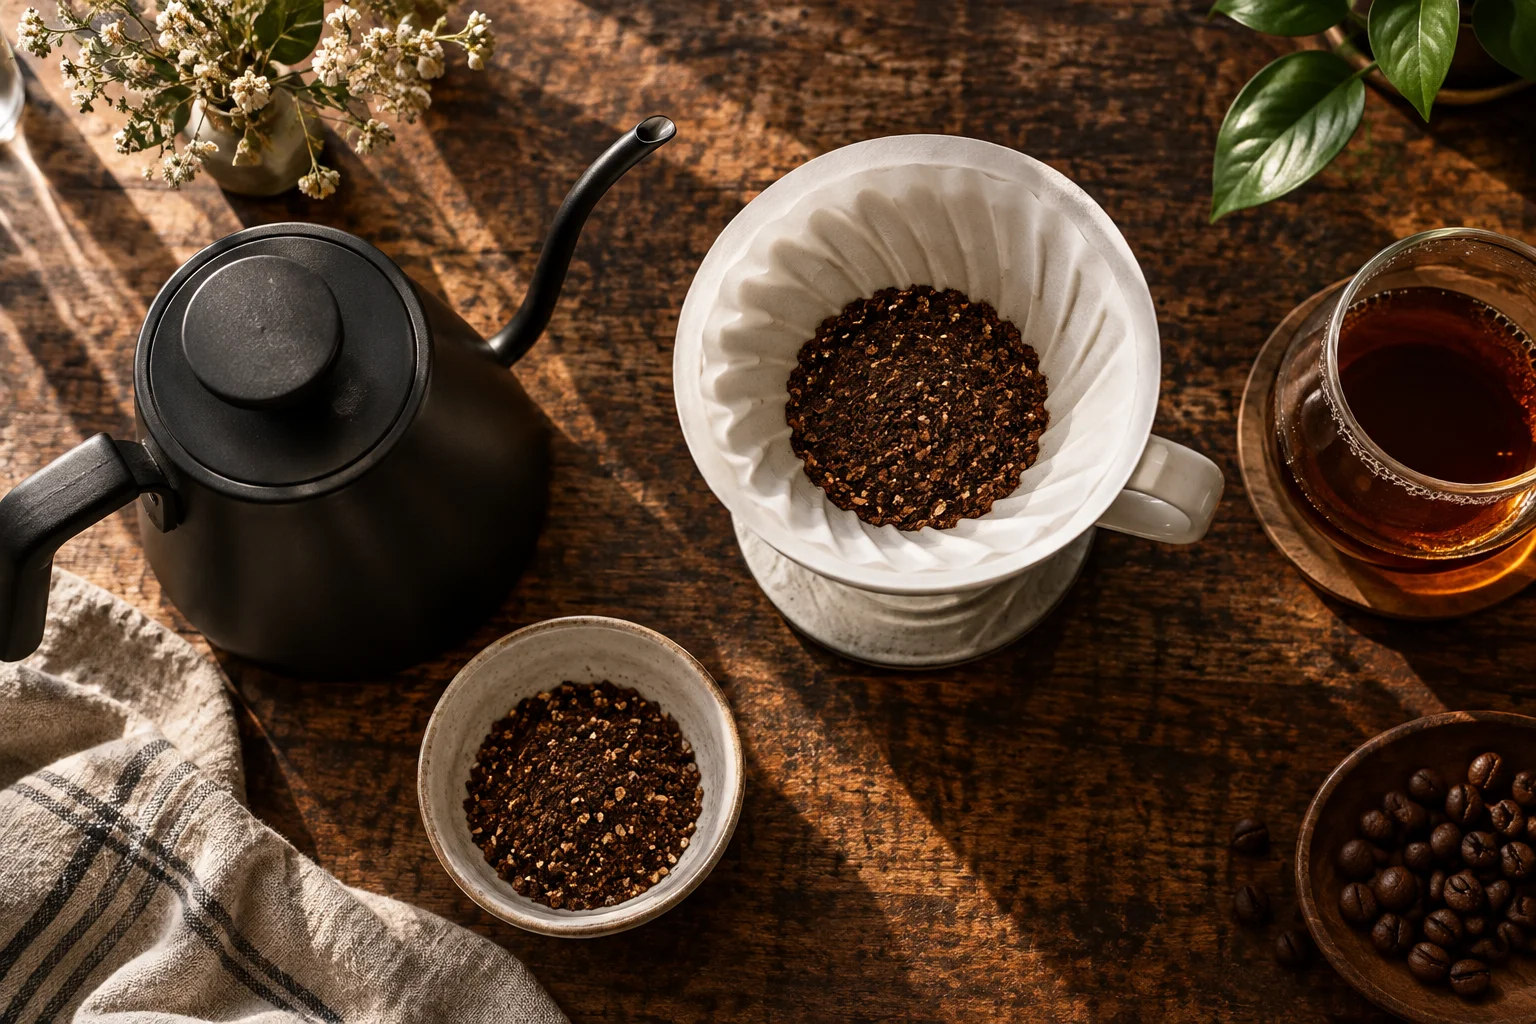
Begin with 15 g of coffee and 250 g of water, a medium-fine starting grind appropriate to your equipment, and water around 94°C. Those are starting choices for the exercise. Your coffee, grinder, filter, and preference may call for a different result.
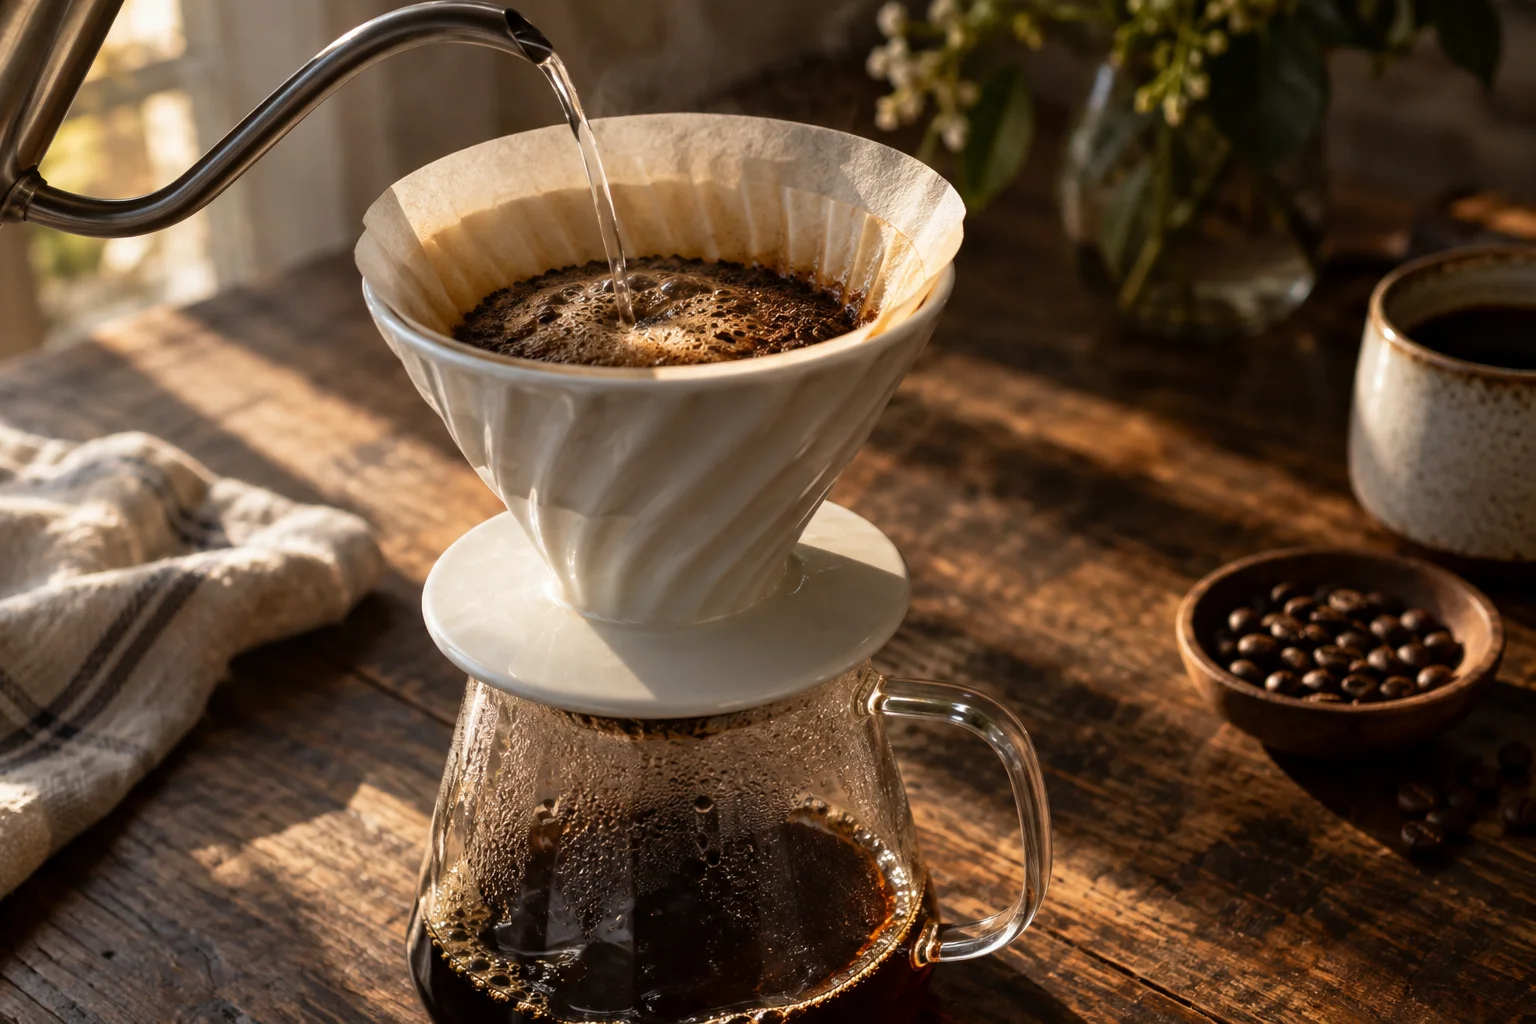
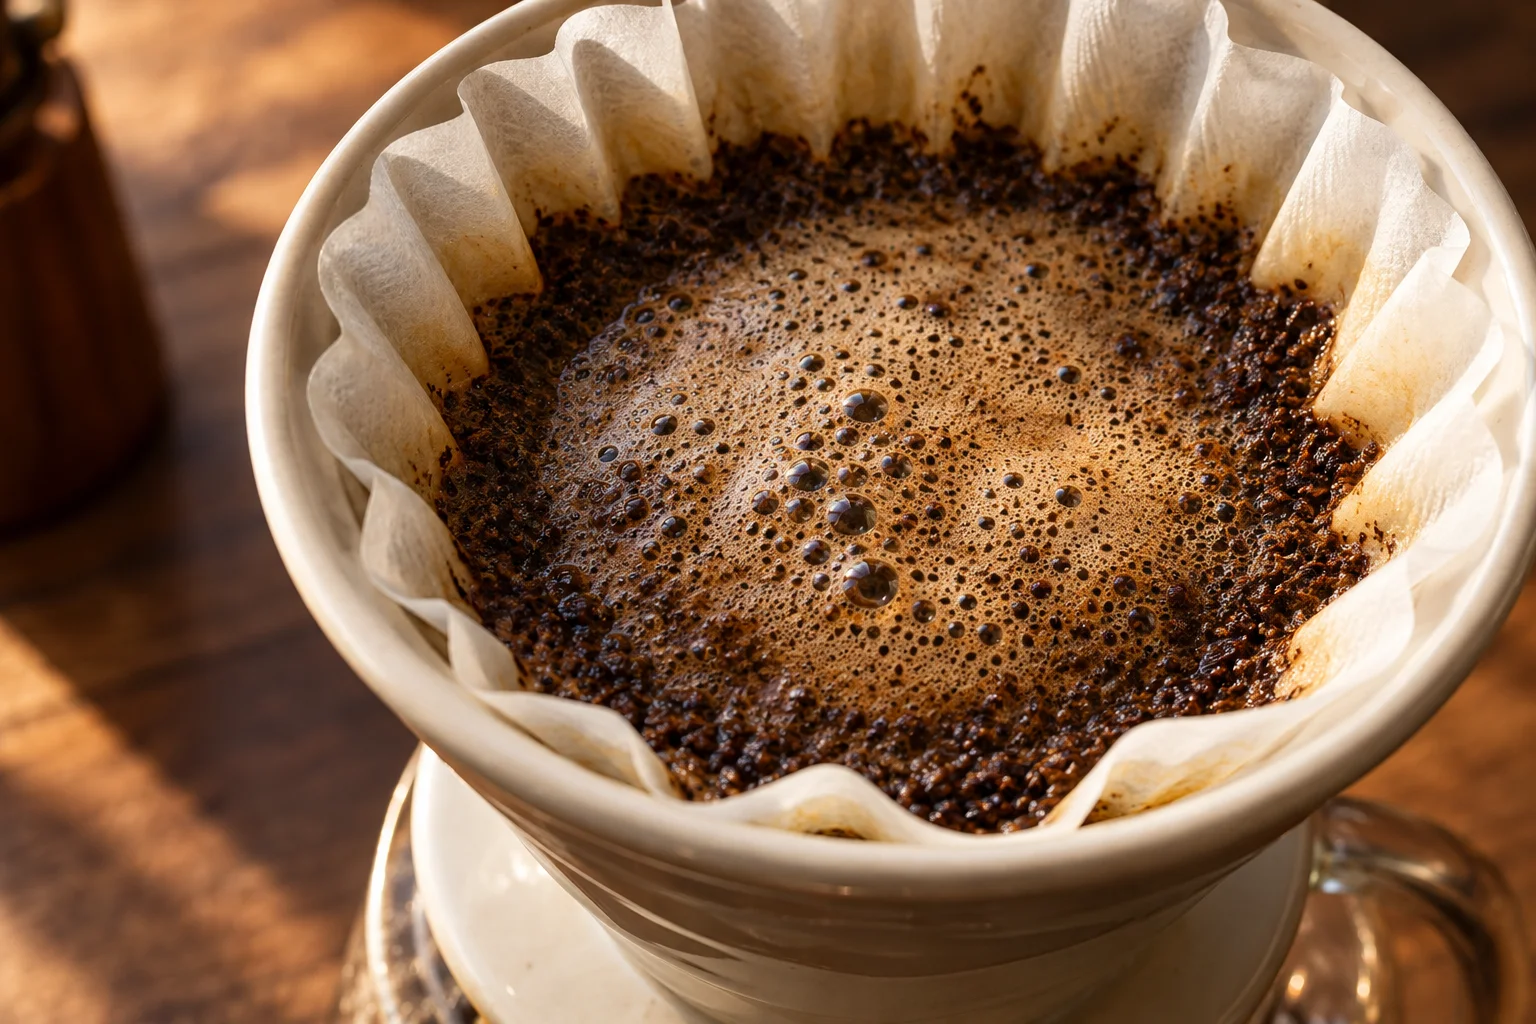
Rinse the filter, prepare the brewer, and place it on a scale. Start the timer when water first touches the grounds. Aim for even wetting and a controlled stream rather than a dramatic high pour.
The four additions
The table shows cumulative scale targets. The second pour adds 70 g because the first 50 g is already in the brewer. Pour each addition calmly; do not rush to hit a start time at the expense of control.
The timings are practice targets, not a reason to overfill a slow-draining brewer. If the bed retains much more water than expected, record the behavior and adapt the next brew. Log the actual finish time rather than forcing a particular total.
| Stage | Start | Add | Scale total |
|---|---|---|---|
| Bloom | 0:00 | 50 g | 50 g |
| Second pour | 0:45 | 70 g | 120 g |
| Third pour | 1:15 | 65 g | 185 g |
| Fourth pour | 1:45 | 65 g | 250 g |
Follow the ritual.
Keep the details.
Bring structure to your coffee routine with BrewTrax method selection, recipe setup, brewing timers, and recorded steps.
Explore Guided Coffee Brewing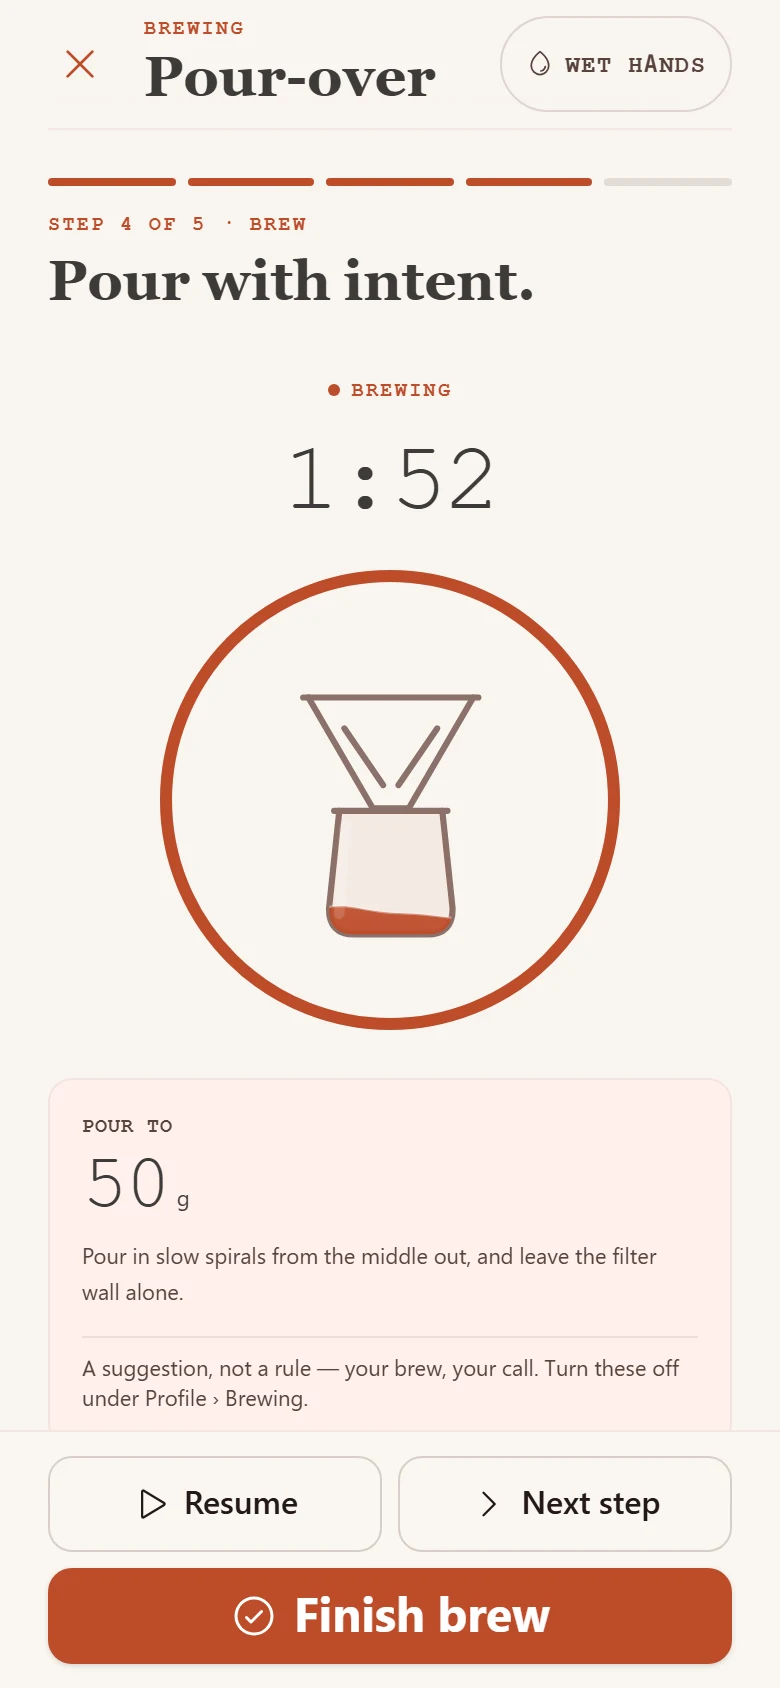
REMEMBER THE CUP.
Watch what happens between pours
Note whether the slurry stays high or nearly drains before each addition. Write down your kettle style—low, gentle circles is enough—and any swirl you use. Keep that technique steady on the first repeat.
Use a consistent drawdown endpoint. For example, stop the timer when the water surface has disappeared and dripping becomes slow, then use that same convention next time. There is no prescribed final time in this practice recipe because the meaningful comparison is the behavior and taste of your setup.
If you overshoot a target, save the real number. A cup made with 270 g of water should not be logged as the intended 250 g. The mistake can still teach you something if the record is accurate.
Let taste choose the next change
Taste the cup warm and again as it cools. If you enjoy it, repeat the same recipe. If you want a change, describe the problem before adjusting the grind or water distribution.
For a first test, keep the four targets and timing convention steady while moving the grinder one small increment. Record any change in drawdown as a consequence, then compare sweetness, texture, and finish. A slower brew is not automatically better or worse.
After you establish a baseline, you can test the water distribution itself. Move a little water from one stage to another while preserving the total, and label it as a new schedule. Do not claim the result proves a universal sweetness rule; it shows what happened with your coffee and execution.
Save each stage in BrewTrax so the recipe is usable while brewing. Once a variation tastes good twice, keep it as your own four-pour starting point.