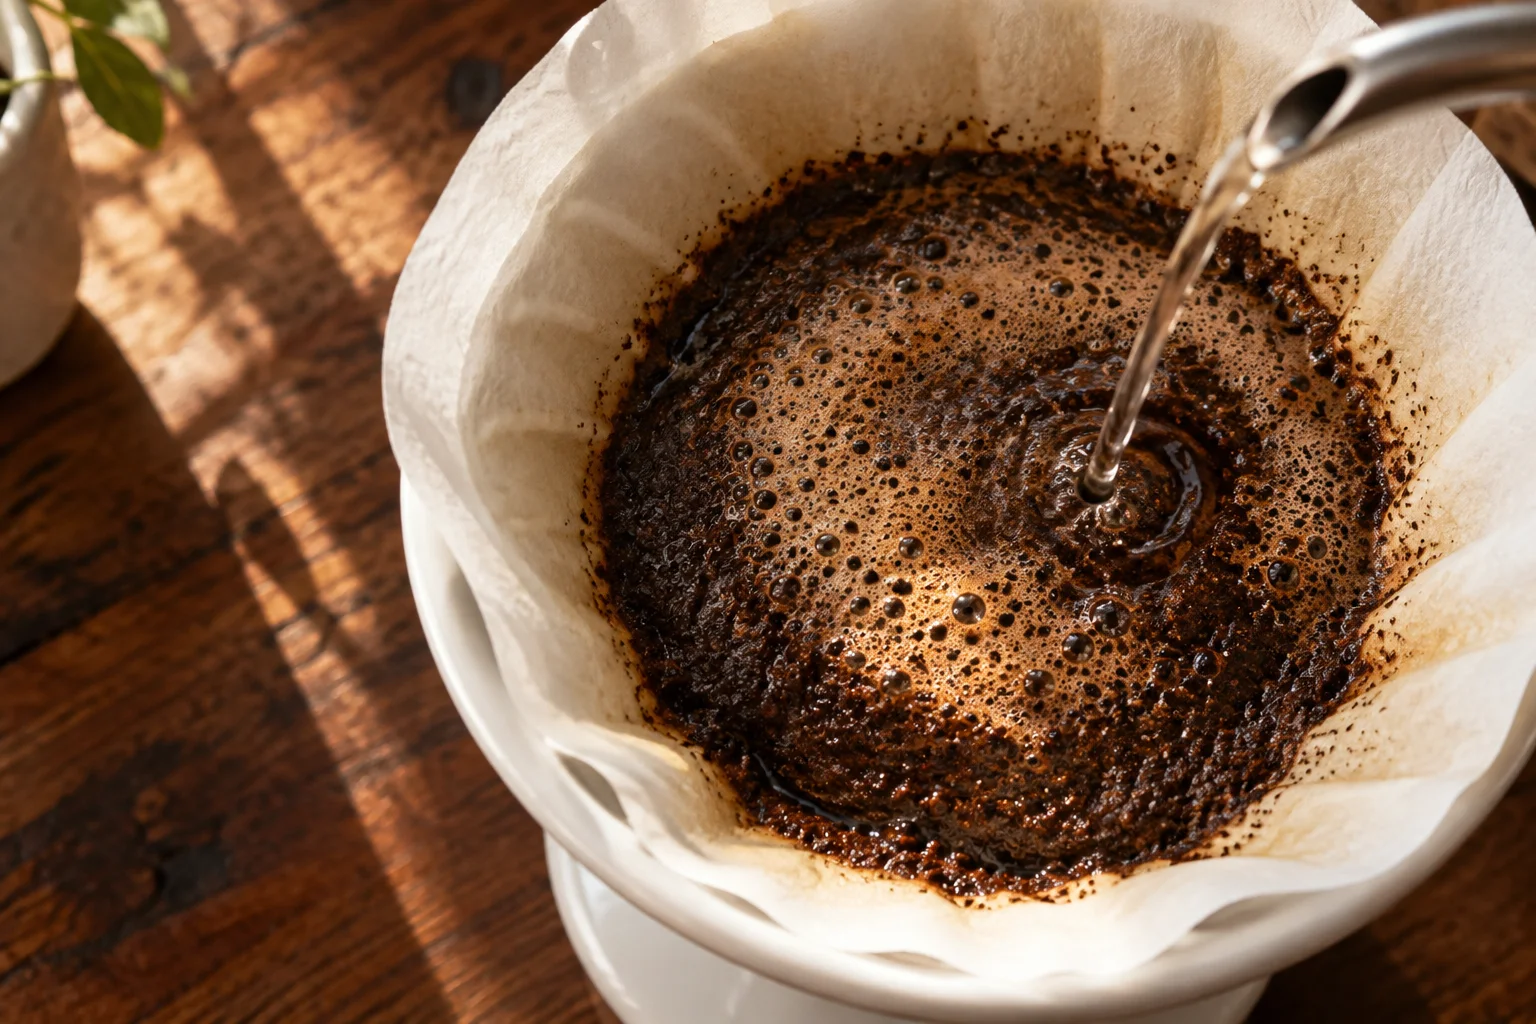
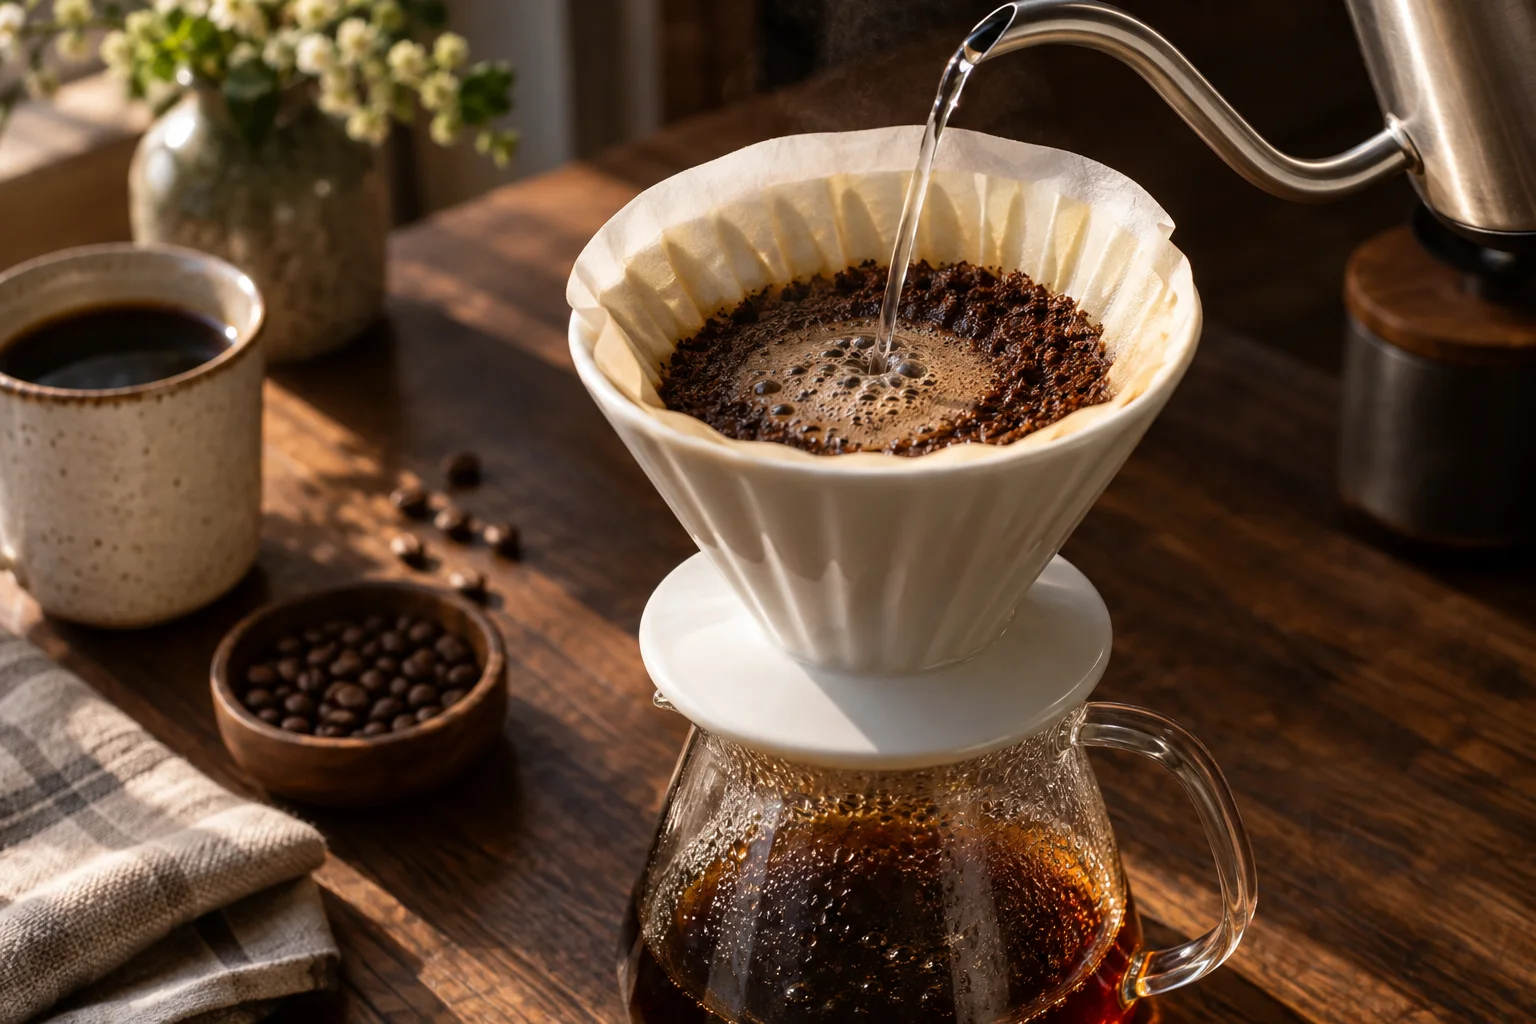
One stream.
Many ways to pour.
Compare continuous and pulse pouring, learn what changes in the coffee bed, and record a pour-over schedule clearly.
Pour a cup. Settle in.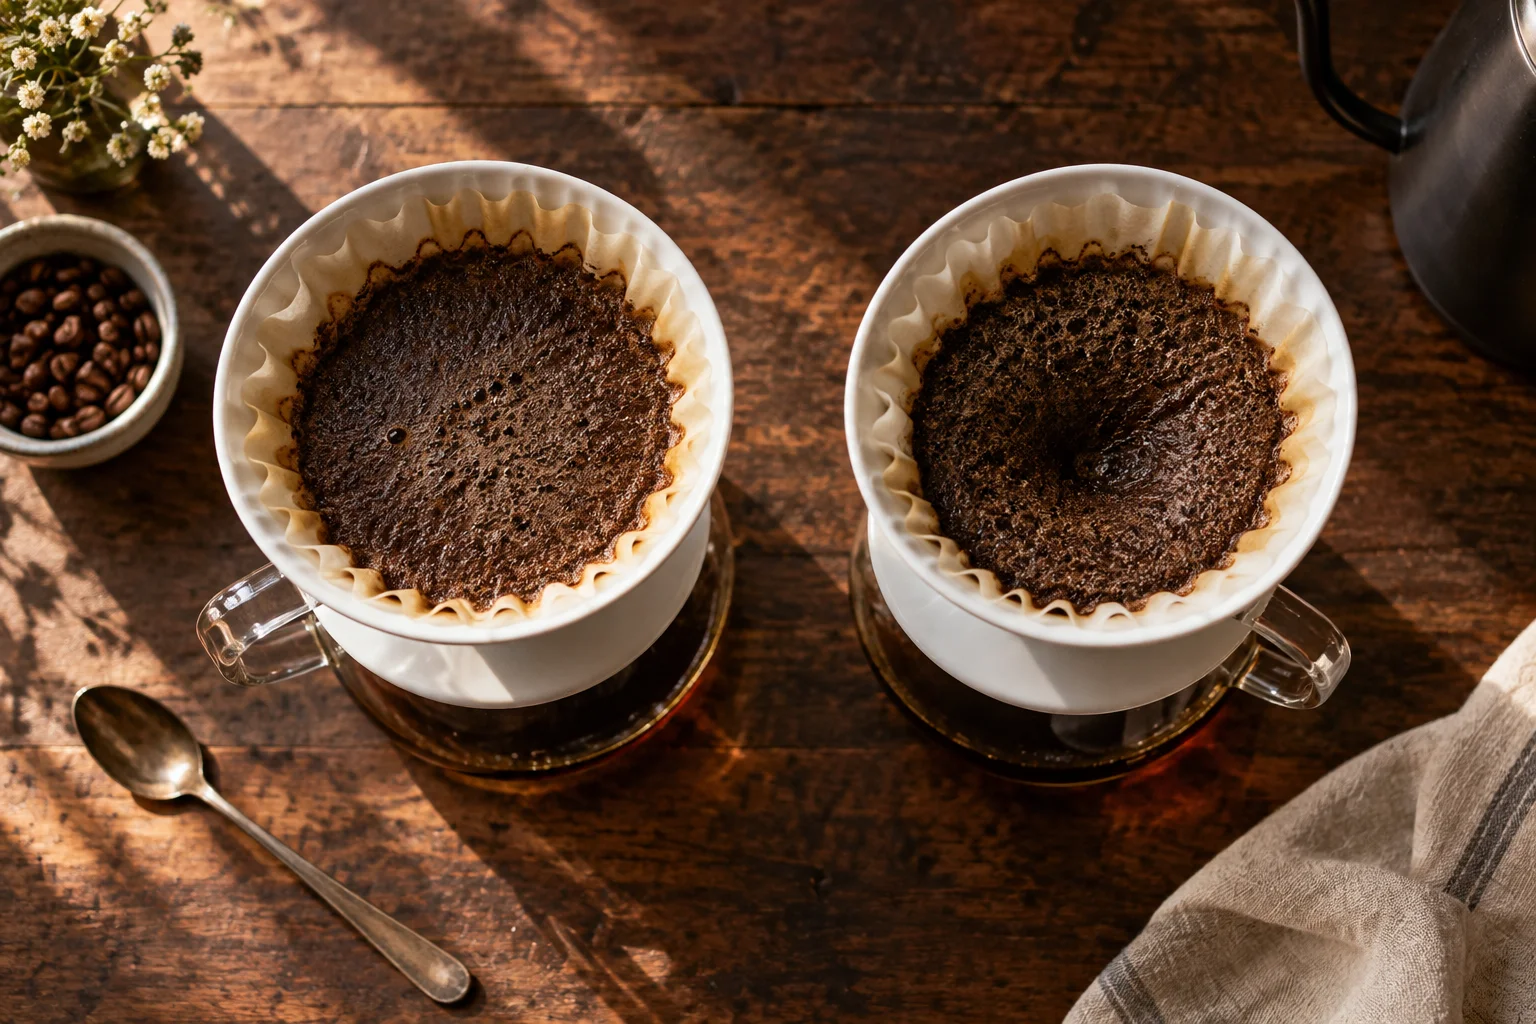
Pour count is only the beginning
A recipe can use one long main pour or several smaller additions. Both can make enjoyable coffee. Counting the pours is a useful label, but it does not fully describe the brewing process. Water delivery rate, kettle height, pauses, agitation, and the water level above the bed all contribute.
A single continuous pour often asks you to maintain a steady stream. A pulse recipe asks you to repeat several additions with a defined pause or drainage condition between them. Neither is automatically simpler: one tests sustained control, the other tests timing and consistency.
Also decide whether the bloom counts as a pour. In this journal, a named four-pour or ten-pour recipe states its counting convention explicitly. Without that convention, two people can follow “four pours” and make different recipes.
What changes when you divide the water?
Smaller additions and longer pauses can change the water level and the way the bed drains. Repeated pouring also introduces repeated agitation. A recipe with many pulses is not just a continuous pour cut into equal mathematical pieces.
Grind and filter behavior matter. A coarse grind that drains readily may suit a particular pulse schedule, while a finer bed may retain water between every addition. Copying only the number of pours loses the relationship between the recipe and its flow.
This is why comparisons should document the whole schedule. HARIO’s published 4:6 example and Lance Hedrick’s main-pour approach offer different complete starting points. Treat them as recipes to understand rather than competing rules you must choose between.
| Approach | What to record | Question to ask |
|---|---|---|
| Continuous main pour | Start, end, total water, approximate flow | Can I keep the stream consistent? |
| Timed pulses | Amount and start time of every pour | Does the bed drain as expected? |
| Drain-led pulses | Water level or drainage cue before adding more | Am I using the same cue each time? |
Follow the ritual.
Keep the details.
Bring structure to your coffee routine with BrewTrax method selection, recipe setup, brewing timers, and recorded steps.
Explore Guided Coffee Brewing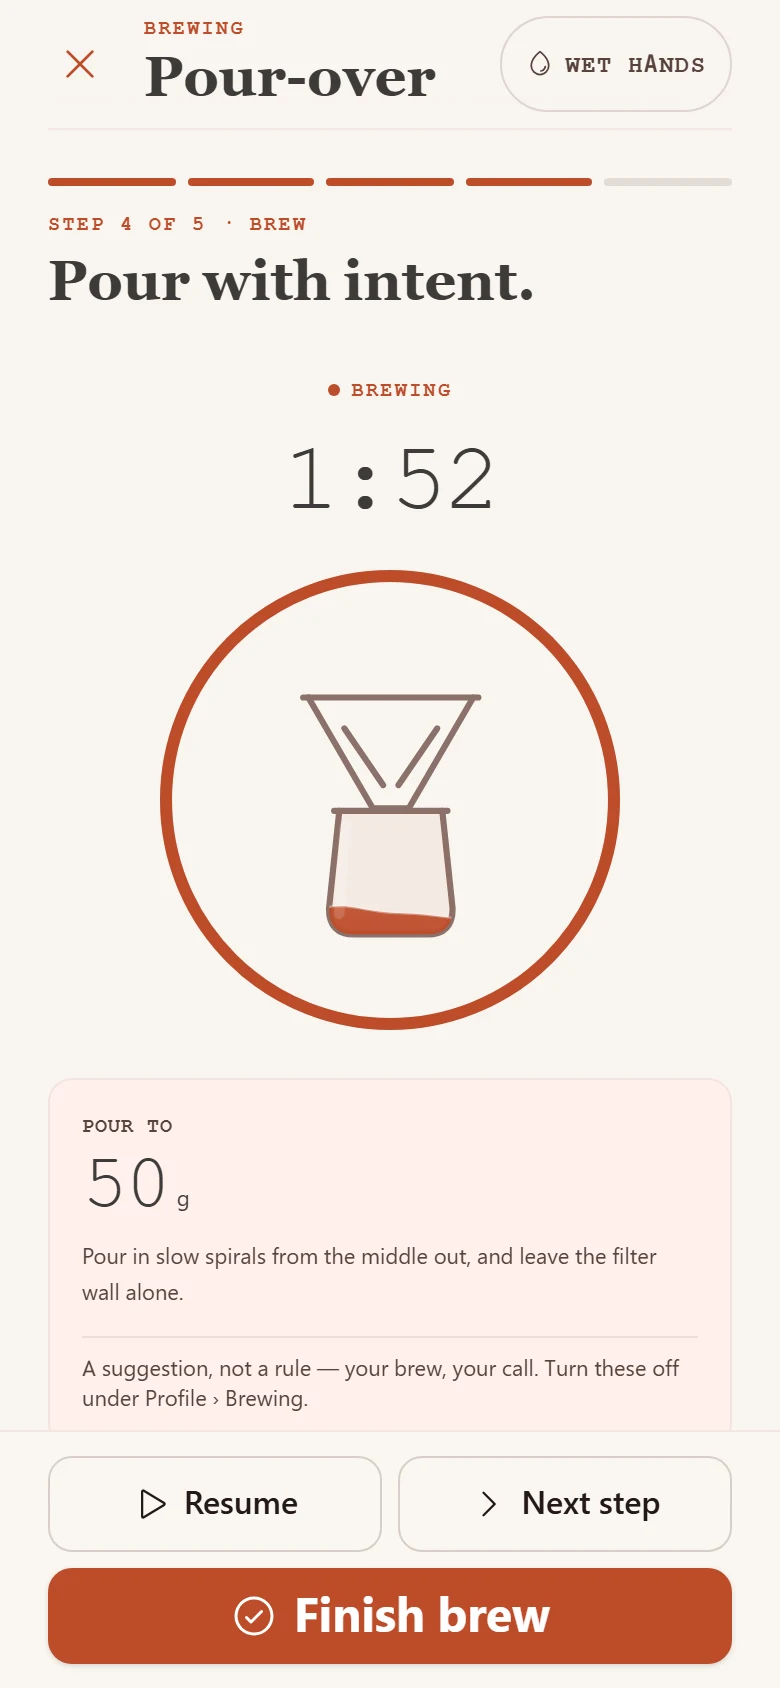
REMEMBER THE CUP.
Run a comparison with a clear question
Use one coffee, dose, total water, filter, and water source. Choose two schedules and write them down before brewing. If one schedule requires a very different grind to function, acknowledge that you are comparing two complete recipes rather than isolating pour count alone.
Taste at similar temperatures and write a preference with a reason. You might prefer the texture of one cup and the brightness of another. That is more informative than announcing that more pours are always sweeter or that fewer pours are always cleaner.
Repeat the preferred recipe. A pulse method that only works when you execute it perfectly may be less suitable for your weekday routine than a forgiving method you can reproduce half asleep.
Make the schedule readable on a scale
Use cumulative targets when they make the recipe easier to follow: 50 g, then 150 g, then 250 g. Add the individual amounts in a second column when the distribution itself matters. Keep the first-contact timer convention clear.
Record a swirl or stir beside the stage where it happened. A final vigorous swirl can change drawdown, so it should not hide outside the written recipe. Note any overshoot or late pour as an actual result.
BrewTrax’s step records give a pouring pattern a place beside the cup it produced. Start with the four-pour example for a simple exercise, explore 4:6 for a specific water split, or study Kasuya’s ten-pour method as a distinct coarse-grind recipe. The interesting question is which one helps you make the coffee you enjoy.