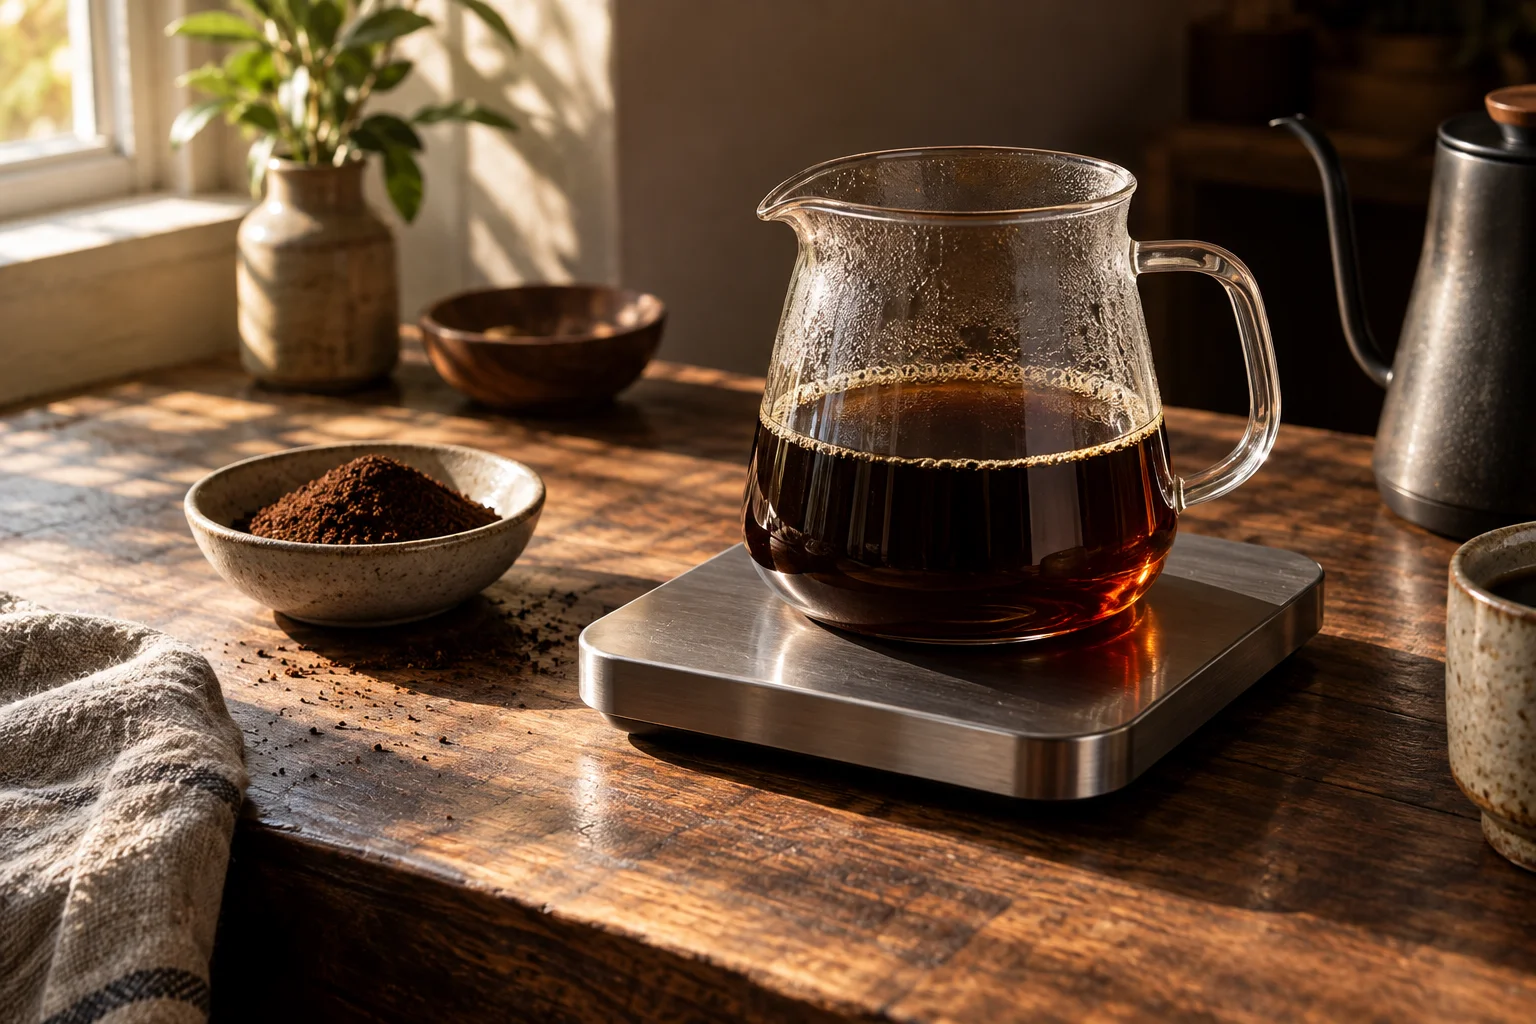
Slow brewing.
Clear proportions.
Track cold-brew coffee dose, water, steep conditions, filtration, and serving dilution without confusing concentrate with a finished drink.
Pour a cup. Settle in.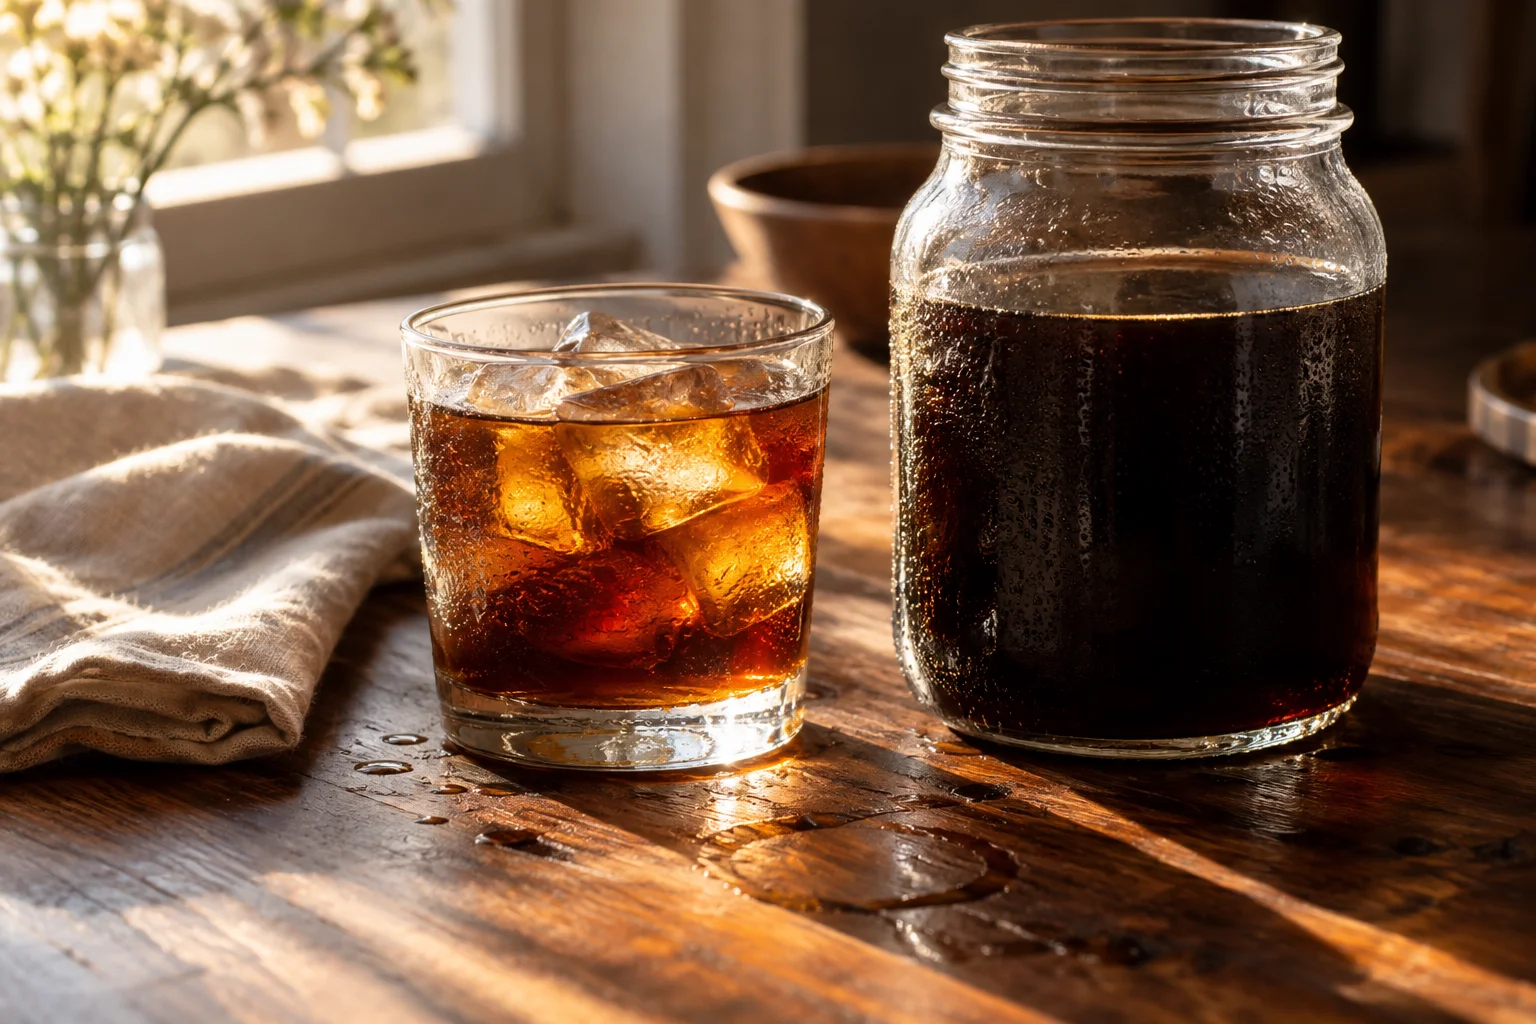
You are recording two recipes
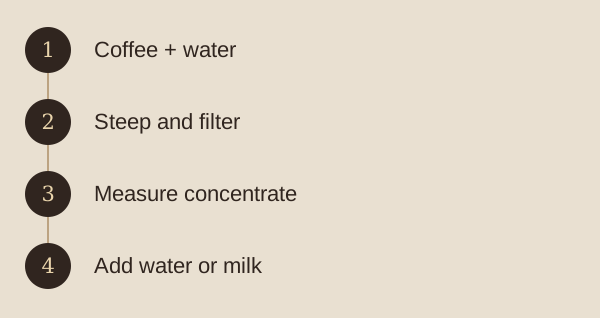
Cold brew often has a brewing recipe and a serving recipe. The first describes coffee, water, temperature conditions, steep time, and filtration. The second describes how much finished concentrate you mix with water, milk, or ice.
Keeping those stages separate solves a common problem: a delicious glass that you cannot reconstruct because the note says only “strong concentrate.” Record the actual masses at each stage. The recovered concentrate will weigh less than the water you initially added because some liquid remains with the grounds.
Also identify whether your recipe is intended as a concentrate or ready-to-drink coffee. A brew prepared for dilution should not be judged only by how intense it tastes before serving.
Record the conditions, not just the hours
Name the brewer or vessel, coffee dose, water, grind, and steeping location. A refrigerated steep and a room-temperature steep are different processes; do not copy a time from one and silently apply it to the other.
Use the instructions for your brewing system as the starting point. Toddy’s home-system manual is one example of a complete method, including coffee and water amounts, steeping guidance, and dilution. Its directions belong to that system rather than defining a universal schedule for every cold-brew setup.
Keep equipment clean, follow the manufacturer’s handling and storage guidance, and refrigerate the finished brew as directed. Your journal should record when it was prepared; it should not invent a shelf-life guarantee from taste or appearance.
| Record | Why it helps |
|---|---|
| Brewing | Coffee dose, water, grind, vessel |
| Steeping | Start and end time, fridge or room conditions |
| Filtering | Filter type and recovered concentrate mass |
| Serving | Concentrate plus added water or milk |
| Storage | Preparation date and the guidance you follow |
Every brew.
A way back.
Track coffee recipes, beans, grind settings, brew steps, and tasting notes across your favorite methods with BrewTrax.
Explore Coffee Brew Tracking App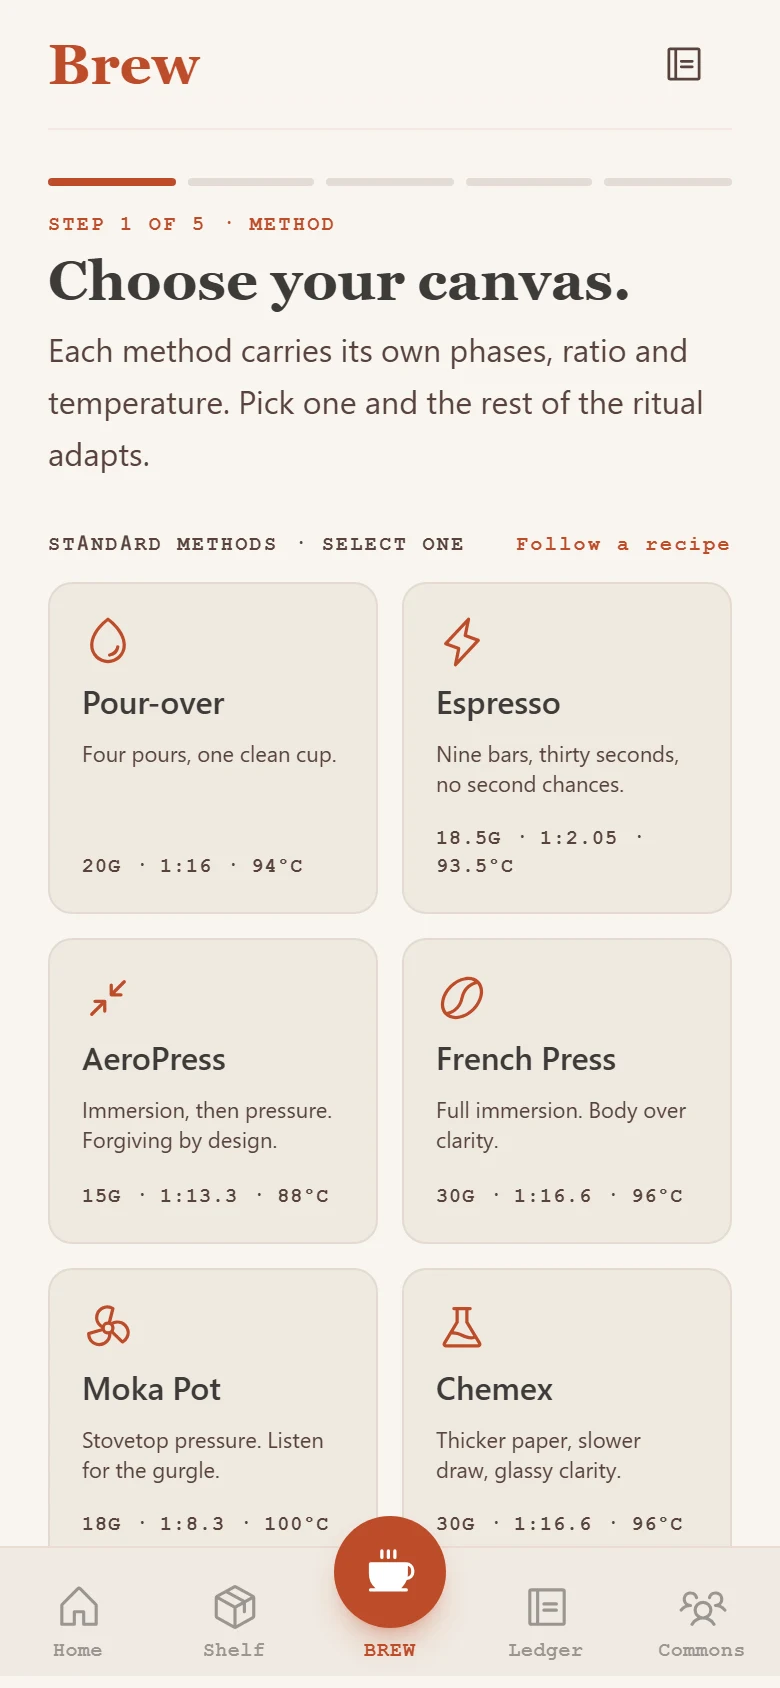
REMEMBER THE CUP.
Make dilution measurable
Suppose you serve 100 g of concentrate with 200 g of water. That is a 1:2 concentrate-to-water dilution, producing 300 g before ice. It is not the original coffee-to-water brew ratio. Write both numbers with their labels.
Try two small portions at different dilutions before changing the brewing recipe. A concentrate that seems overwhelming may make an enjoyable drink with more water. Conversely, a weak serving may be a dilution choice rather than a brewing failure.
Record ice separately when it meaningfully changes the drink. You can compare glasses more fairly by using similar ice amounts and tasting at a similar time, rather than comparing a freshly mixed drink with one that has melted for half an hour.
Change the stage that needs changing
If the serving concentration is wrong, adjust dilution first while holding the concentrate steady. If the flavor remains unpleasant across sensible dilutions, revisit the brewing stage. Change grind, time, or coffee choice deliberately rather than moving everything at once.
Describe aroma, sweetness, texture, and finish. Cold coffee can be easy to label simply “smooth,” but a more specific note helps you repeat the qualities you like. Include milk or sweetener if that is how you enjoy it.
BrewTrax keeps the batch record and your tasting notes together. Use the recipe notes to preserve dilution and preparation dates. The reward is a repeatable glass, whether you prefer a small concentrated serving or a longer drink over ice.