Clear glass.
Clearer notes.
Track CHEMEX filter placement, coffee ratio, pour stages, and drawdown to understand a clean, repeatable batch brew.
Pour a cup. Settle in.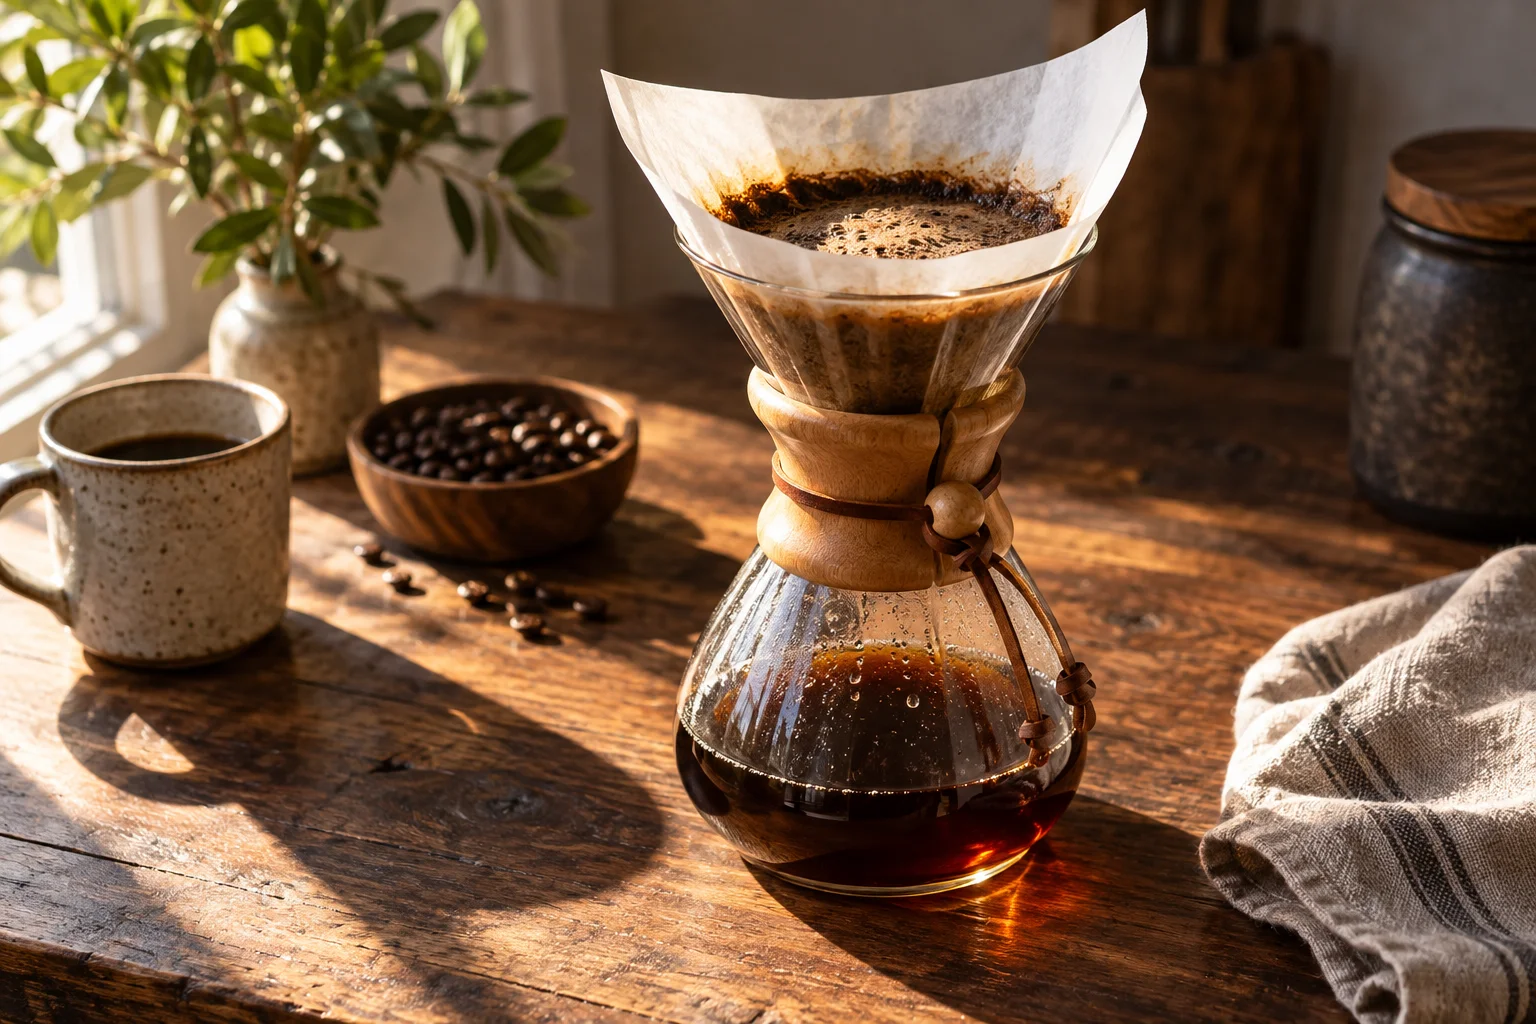
The filter is part of the brewer
CHEMEX brewing depends on more than the elegant glass vessel. The filter, its placement, and the open air path all matter. Follow the manufacturer’s instructions for your filter shape and brewer. With the folded filter arrangement shown in its guide, the thicker side faces the pouring spout.
Record the exact filter you use, including a switch between bonded paper and a different reusable option. Rinsing and preheating are worth noting when you are comparing recipes. Do not assume a recipe designed for one filter behaves the same with another.
Write down the brewer size and batch dose too. A recipe for a small morning cup is not simply a larger party batch divided in half: bed depth and heat loss change with the amount of coffee and water.
Keep input water separate from served coffee
Use dry coffee mass and brewing-water mass to state your ratio. A 30 g dose and 480 g of water is a 1:16 input ratio. The final beverage will weigh less because water remains in the grounds and filter.
A larger batch should be tracked as its own recipe even when you preserve that ratio. Start with a familiar grind, then observe flow and taste. Avoid changing dose, filter, pouring pattern, and grind together when you want to understand one problem.
If you are brewing over ice, record the ice separately from the water that passes through the bed. The serving ratio is important, but it should not obscure how much hot water actually extracted the coffee.
| Record | Why it helps |
|---|---|
| Brewer and filter | Size, paper type, and placement |
| Dose and input water | The recipe ratio |
| Bloom | Amount, duration, and agitation |
| Pour schedule | Cumulative targets and pauses |
| Drawdown endpoint | Your consistent definition of finished |
Follow the ritual.
Keep the details.
Bring structure to your coffee routine with BrewTrax method selection, recipe setup, brewing timers, and recorded steps.
Explore Guided Coffee Brewing
REMEMBER THE CUP.
Notice the air path and the bed
Watch for unusual interruptions in flow. A filter that interferes with the air path or seats differently may change drainage. Check setup before assuming every slow brew needs a coarser grind.
Record whether the water level rose higher than usual and whether you added a strong swirl. Fine particles and agitation can also affect resistance in the bed. A single total brew time will not explain those differences by itself.
When the final drawdown is slow, preserve the actual result in the entry. Do not rewrite it to match a target time. Taste the cup before deciding it failed; timing is a useful clue, not a substitute for flavor.
Make the clean cup reproducible
Describe clarity, sweetness, texture, and finish at a comfortable drinking temperature. If the cup feels lighter than you want, ask whether you want greater concentration or a different extraction before changing several things.
For a controlled comparison, keep the same coffee, dose, filter, water, and pouring schedule while making one small grind adjustment. Repeat the version you prefer. If a bigger batch is the goal, save a separate record instead of overwriting the small recipe.
In BrewTrax, the Chemex entry belongs alongside other methods while preserving its own details. Record the meaningful pour stages and keep the filter note in the recipe. That gives a beautiful cup something more durable than a photograph.